How to Configure Varnish 6 and Nginx with SSL for Magento 2
As you know, Magento 2 isn’t the fastest ecommerce framework. That's why you need to cache everything to handle lots of traffic.
Your question - how to do that?
My answer - Varnish. So what is Varnish Cache, exactly?
It is an HTTP accelerator, designed for heavy dynamic websites. A main advantage behind the Varnish Cache in Magento 2 is that your server shouldn’t regenerate the products on category page from database every time it’s accessed.
But as you probably know, Varnish works with HTTP and doesn’t support HTTPS. But don’t despair, we will show you how to configure Varnish Cache with your Magento 2 using NGINX.
In this tutorial, we’ll show you how to install and configure Varnish Cache 6 with Nginx and LetsEncrypt SSL certificate on Ubuntu OS for Magento 2 Open Source.
Of course just like in previous tutorial about Magento Installation, you need a VPS server with ssh access. We’ll use the Digital Ocean.
Install Varnish cache
We’ll install Varnish Cache repo automatically by running bash script from packagecloud.io
$ curl -s https://packagecloud.io/install/repositories/varnishcache/varnish64/script.deb.sh | sudo bashThis command will check your system ability to install varnish and then will add a repository with the latest Varnish package. After this script is done you able to check:
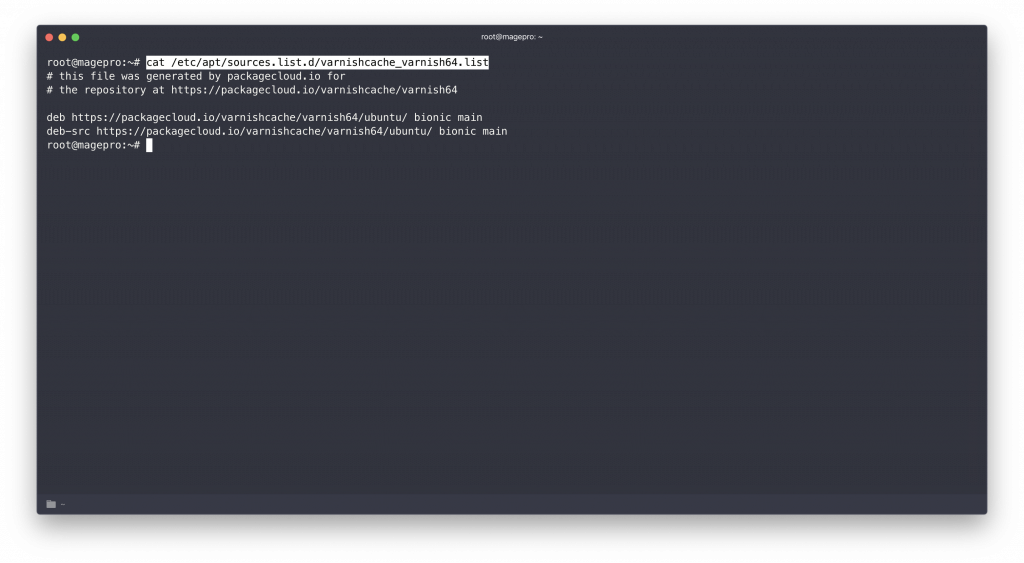
$ cat /etc/apt/sources.list.d/varnishcache_varnish64.listYou should see something like this
Well, now you can install Varnish Cache to your server. Let's do that with the following command:
$ sudo apt -y install varnish autoconf automake libtool varnish-dev libmaxminddb-dev python-docutilsPlease note, all commands you should run like a sudo user.
Here you go! Varnish cache is installed to your server.
Check it out:
$ systemctl start varnish
$ systemctl status varnish
If status is active please go ahead.
Configure Magento to use Varnish Cache for Full page cache
Go to your admin panel Stores -> Settings Configuration -> Advanced tab -> System
Here find Full Page Cache tab and click to expand. In Caching Application choose Varnish and then click to Varnish Configuration.
Add the same settings like in screenshot:

Click to Export VCL for Varnish 6.
File default.vcl must be downloaded to your pc.
Now you have to go to your server and backup varnish settings.
$ mv /etc/varnish/default.vcl /etc/varnish/default.vcl.BACKNow upload default.vcl which was downloaded from your magento admin panel.
Now we need to change the port. By default Varnish cache listening a :6081 port. But we need :80 port and nginx at :8080
So first of all lets edit Varnish configuration.
$ systemctl edit --full varnishNow you can see systemd settings for Varnish Cache.
In the bottom find
ExecStart=/usr/sbin/varnishd -a :6081 -f /etc/varnish/default.vcl -s malloc,256m
And change :6081 port to :80 like this
ExecStart=/usr/sbin/varnishd -a :80 -f /etc/varnish/default.vcl -s malloc,256m
Save and close it.
$ systemctl daemon-reloadNow you have to go to nginx settings and edit:
$ vi /etc/nginx/conf.d/magento.confAnd change listen 80; to listen 8080;
server {
   listen 8080;
   server_name www.yoursite.com;
   set $MAGE_ROOT /var/www/yoursite;
   set $MAGE_RUN_TYPE website;
   set $MAGE_MODE developer;
   include /var/www/yoursite/nginx.conf.sample;
}
Save and close.
$ systemctl restart nginx
$ systemctl restart varnish
Now your nginx should listen 8080 port and varnish 80 port.
Configure Varnish, Nginx and SSL
Now I guess you have a ssl certificate and ready to use it.
So just go again to nginx settings:
$ vi /etc/nginx/conf.d/magento.confAfter the first server block add a new one.
server {
   listen 8080;
   server_name www.yoursite.com;
   set $MAGE_ROOT /var/www/yoursite;
   set $MAGE_RUN_TYPE website;
   set $MAGE_MODE developer;
   include /var/www/yoursite/nginx.conf.sample;
}

server {
   server_name www.yoursite.com;
   listen 443 ssl http2;
   ssl_certificate /path/to/fullchain.pem;
   ssl_certificate_key /path/to/privkey.pem;
   ssl_session_timeout  1d;
   ssl_session_cache  shared:MozSSL:10m;
   ssl_session_tickets  off;
   ssl_dhparam /path/to/dhparam.pem;
   ssl_protocols  TLSv1.2 TLSv1.3;
   ssl_ciphers                             ECDHE-ECDSA-AES128-GCM-SHA256:ECDHE-RSA-AES128-GCM-SHA256:ECDHE-ECDSA-AES256-GCM-SHA384:ECDHE-RSA-AES256-GCM-SHA384:ECDHE-ECDSA-CHACHA20-POLY1305:ECDHE-RSA-CHACHA20-POLY1305:DHE-RSA-AES128-GCM-SHA256:DHE-RSA-AES256-GCM-SHA384;
   ssl_prefer_server_ciphers               off;
   # HSTS (ngx_http_headers_module is required) (63072000 seconds)
   add_header Strict-Transport-Security "max-age=63072000" always;
   # OCSP stapling
   ssl_stapling                            on;
   ssl_stapling_verify                     on;

   location / {
       proxy_pass http://127.0.0.1;
       proxy_set_header Host               $http_host;
       proxy_set_header X-Forwarded-Host   $http_host;
       proxy_set_header X-Real-IP          $remote_addr;
       proxy_set_header X-Forwarded-For    $proxy_add_x_forwarded_for;
       proxy_set_header X-Forwarded-Proto  https;
       proxy_set_header X-Forwarded-Port   443;
       proxy_buffer_size                   128k;
       proxy_buffers                       4 256k;
       proxy_busy_buffers_size             256k;
       fastcgi_buffer_size                 32k;
       fastcgi_buffers                     4 32k;
   }
}
Save and close.
$ systemctl start varnish
$ systemctl status varnish
The main thing there is a location block which contains some proxy settings which allow to use a ssl with Varnish Cache.
Well, if everything is ok, your Magento 2 must be running with Varnish Cache.
Getting Started with Magento 2
In the Getting Started with Magento 2 you will learn how to install Magento 2 Open Source on your environment.