How to Setup an Ubuntu Server for Magento 2 Open Source
In this tutorial, we’ll show you how to install and configure Web Server on Ubuntu OS for Magento 2 Open Source. First of all, you need a VPS server with ssh access. We’ll use the Digital Ocean.
Following the Magento 2 technology stack requirements you need at least 2GB of RAM, non-root user with sudo privileges…
What we need
1. Install MySQL 1. Install Nginx 1. Install php + php-fpm 1. Install Composer Package Manager 1. Install Magento 2 Open Source using Composer
Step 1 - Install MySQL database
For this tutorial, we are going to install an open-source Percona Server 5.7.
$ apt -y install gnupg2
$ wget https://repo.percona.com/apt/percona-release_latest.$(lsb_release -sc)_all.deb
$ dpkg -i percona-release_latest.$(lsb_release -sc)_all.deb
Percona repositories should be added. You can check the repository setup in the /etc/apt/sources.list.d/percona-original-release.list file.
Let's check. Perform the below command.
$ cat /etc/apt/sources.list.d/percona-original-release.list
As a result, you should see the list of repositories.

After you need to update the local cache and check if Percona Server 5.7 available to install:
$ apt-get update
$ apt-cache search percona-server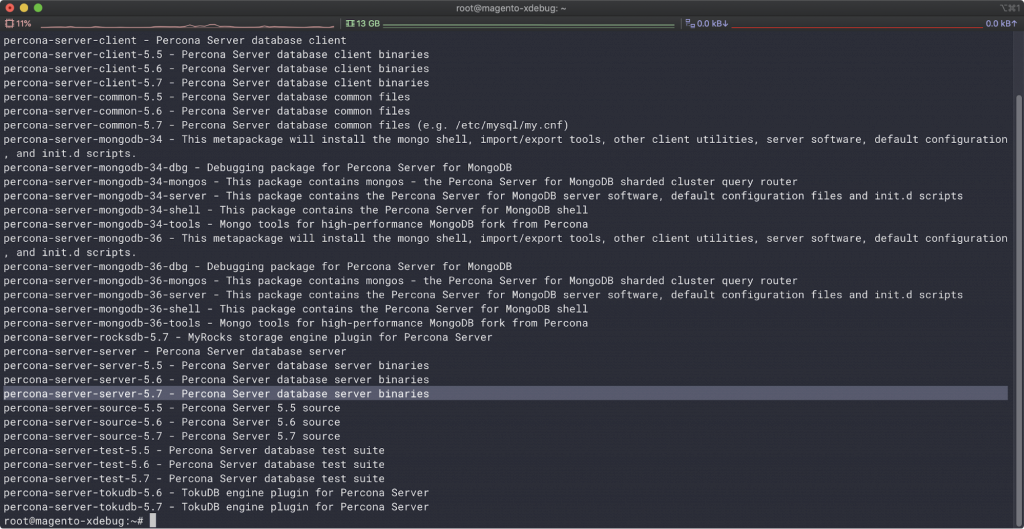
The percona-server-server-5.7 is available to install, let's install it to our server:
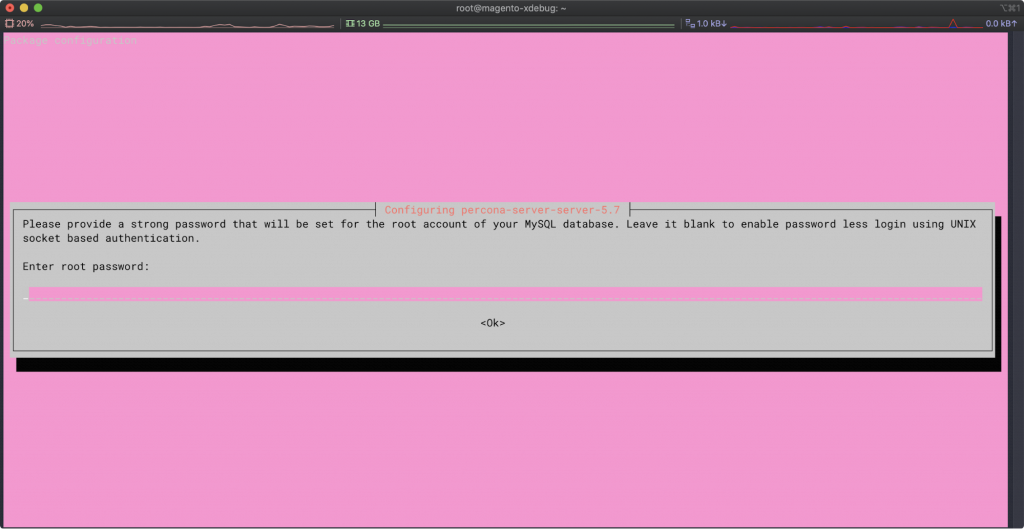
$ apt -y install percona-server-server-5.7You’ll be prompted to set up a root password. Generate strong password and paste here
Once the install has been completed, let's go check our MySQL server to see if it works.
$ systemctl status mysqlChange the MySQL server configuration
To avoid the server performance issues, try to add the following configuration in /etc/mysql/percona-server.conf.d/mysqld.cnf:
$ vi /etc/mysql/percona-server.conf.d/mysqld.cnfAt the end of the file
[mysqld]
...
performance_schema = off
innodb_file_per_table   = 0
query-cache-size        = 256M
query-cache-limit       = 2097152
innodb-file-per-table   = 1
innodb-flush-method     = O_DIRECT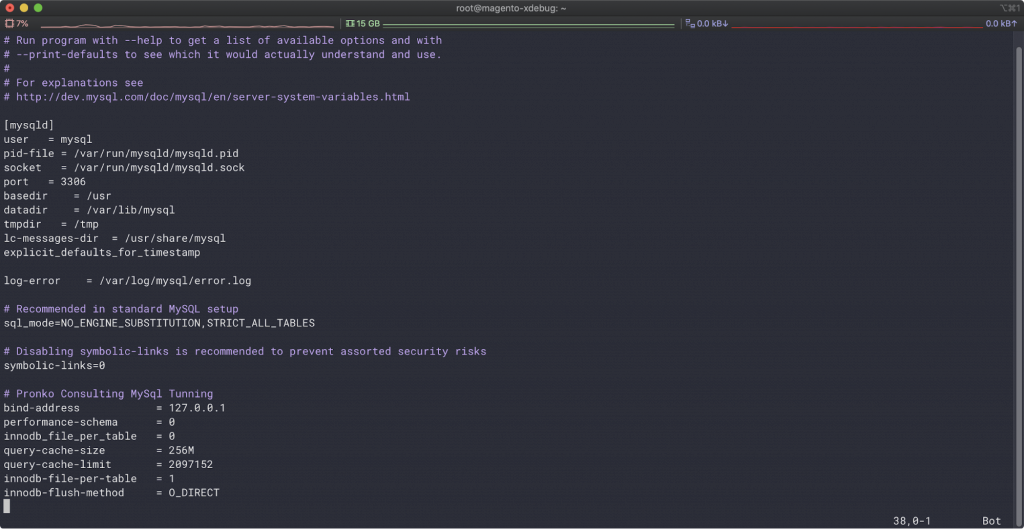
Save and close. To take effect don’t forget to restart the MySQL service
$ systemctl restart mysqlCreate a database for your Magento 2 website
First login to your MySQL server
$ mysql -uroot -pAnd paste the password for the root user you set earlier.
$ CREATE DATABASE magento;
$ GRANT ALL PRIVILEGES ON magento.* to 'magento_user'@'localhost' identified by 'YourPassword';
$ FLUSH PRIVILEGES;
$ exit
Change database name Magento to name of your database and magento_user to your user name and 'YourPassword' to strong password with digits, special characters, uppercase and lowercase letters, and at least 12-16 characters.
Step 2 - Install PHP 7.3 + php-fpm
In our Ubuntu available to install PHP 7.2. But we need to use the latest. Let’s add new PHP repo to our system
$ sudo add-apt-repository ppa:ondrej/php
$ sudo apt-get update
Magento 2 Open Source requires several PHP extensions to function properly:
$ sudo apt -y install php7.3 php7.3-fpm php7.3-mysql php7.3-soap php7.3-bcmath php7.3-xml php7.3-mbstring php7.3-gd php7.3-common php7.3-cli php7.3-curl php7.3-intl php7.3-zip zip unzipAfter the installation is finished
$ systemctl start php7.3-fpm
$ systemctl status php7.3-fpm
It should be Active status running.
Step 3 - Install Composer Package Manager
Install composer to your system by the following commands or you can use official documentation.
$ php -r "copy('https://getcomposer.org/installer', 'composer-setup.php');" && php composer-setup.php
$ php -r "unlink('composer-setup.php');"
$ mv composer.phar /usr/bin/composer
Step 4 - Install Nginx web server
Because Ubuntu contains old versions of Nginx, first of all, we need to add the latest packages. Let's do that from the official Nginx documentation.
$ sudo apt install curl gnupg2 ca-certificates lsb-release
$ echo "deb http://nginx.org/packages/mainline/ubuntu `lsb_release -cs` nginx" \
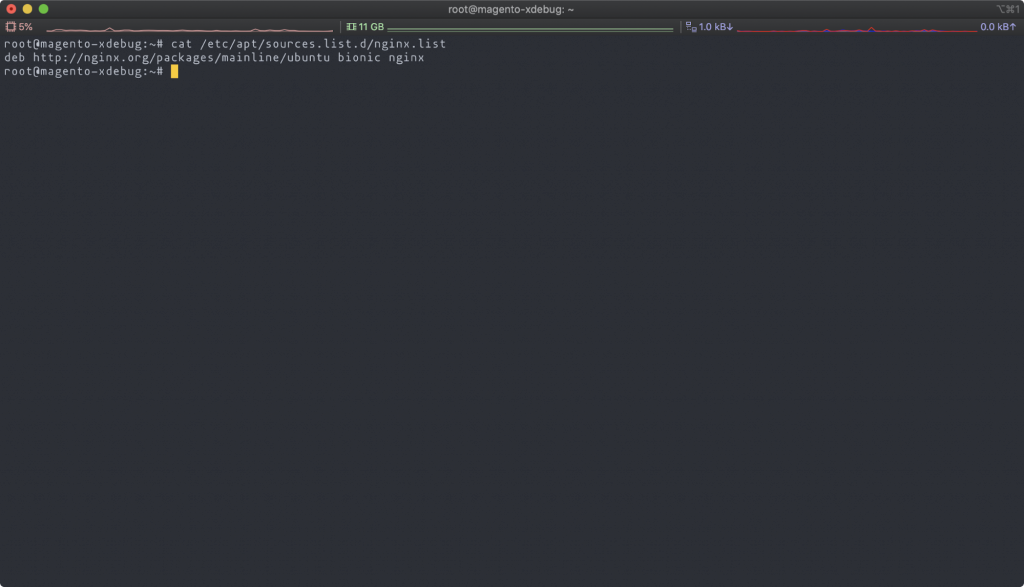
| sudo tee /etc/apt/sources.list.d/nginx.listTo be sure the Nginx mainline was added correctly, we can check with the following command cat /etc/apt/sources.list.d/nginx.list
We should see something like this
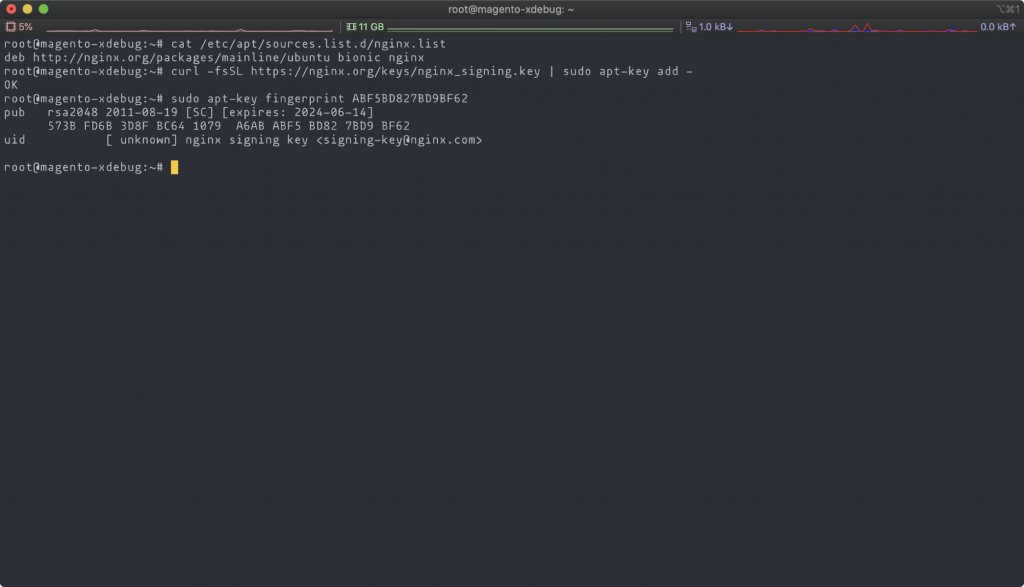
Next step, import an official Nginx signing key
$ curl -fsSL https://nginx.org/keys/nginx_signing.key | sudo apt-key add -
$ sudo apt-key fingerprint ABF5BD827BD9BF62
The output should be like in the screenshot below
It’s enough to install nginx with the following commands:
$ sudo apt update
$ sudo apt -y install nginx
Once the install has completed, let's go to enable nginx and check the status.
$ systemctl start nginx
$ systemctl status nginx
You must be able to see the status Active: active (running)
Configure Nginx
Create virtual host
$ vi /etc/nginx/conf.d/magento.confAdd the following configuration
upstream fastcgi_backend {
  server  unix:/run/php/php7.3-fpm.sock;
}

server {

  listen 80;
  server_name yourservername;
  set $MAGE_ROOT /var/www/magento2;
  include /var/www/magento2/nginx.conf.sample;
}
Save and close.
Delete sample configuration
$ rm /etc/nginx/conf.d/default.confChange nginx configuration
$ vi /etc/nginx/nginx.confHere we are gonna change nginx user and worker_processes. It is the first and second lines in this file. Default settings
user  nginx;
worker_processes  1;
Change to
user  www-data;
worker_processes  auto;
Save and close
For now, we cannot restart nginx web server because we don’t have the path /var/www/magento2 where our Magento should be located.
Go to the var directory and create the www folder
$ cd /var
$ mkdir www
$ cd www
And now we are able to install Magento 2.
Step 5 - Install Magento 2 Open Source via Composer Package Manager
$ composer create-project --repository-url=https://repo.magento.com/ magento/project-community-edition magento2In process it will ask you to add credentials which you can find in your Magento Marketplace account. It will take some time to download the latest Magento modules and all dependencies.
Now, our server and Magento 2 are ready to be installed.
Check of your nginx settings are correct
$ nginx -tIt should be the following output
nginx: the configuration file /etc/nginx/nginx.conf syntax is ok
nginx: configuration file /etc/nginx/nginx.conf test is successful
Restart nginx
$ systemctl restart nginxAnd change permissions to folders
$ chown -R www-data:www-data magento2/Go to your domain name you set in /etc/nginx/conf.d/magento.conf.
Magento 2 ready for installation.

You can proceed with browser installation which will take some time or use this command
$ cd magento2
$ bin/magento setup:install --base-url=https://local.magento.com/ \
--db-host=localhost --db-name=yourdbname \
--db-user=magento_user --db-password=yourdbpassword \
--admin-firstname=Magento --admin-lastname=User --admin-email=user@example.com \
--admin-user=admin --admin-password=admin123 --language=en_US \
--currency=USD --timezone=America/Chicago --cleanup-database \
--session-save=db --use-rewrites=1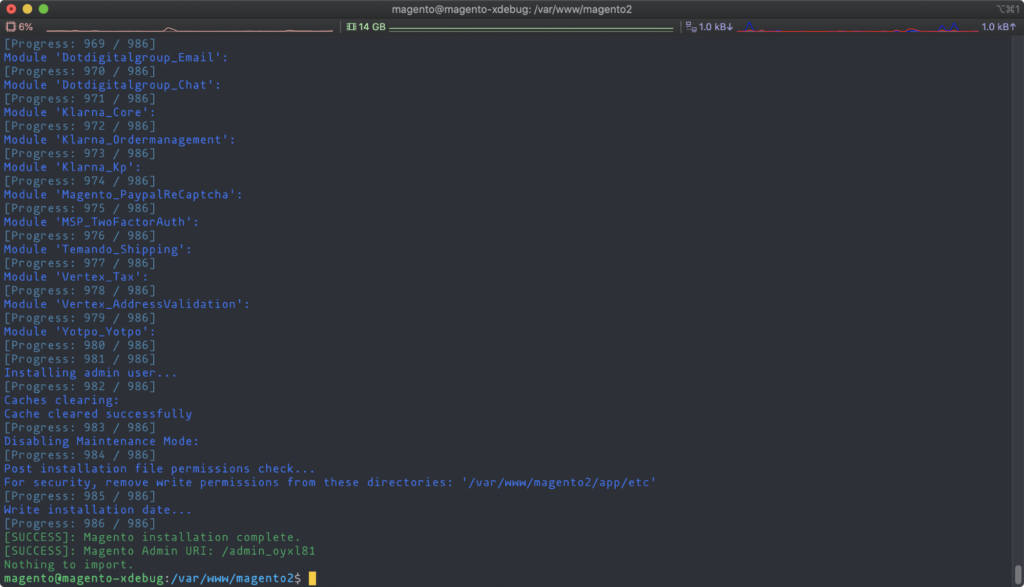
That's all. Our Magento 2 Open source is installed and ready to use.
Getting Started with Magento 2
In the Getting Started with Magento 2 you will learn how to install Magento 2 Open Source on your environment.